


⚡ TL;DR: Learn five essential tips for roof ventilation installation in Vancouver, WA, covering attic assessment, vent types for local weather, proper ratios, avoiding pitfalls, and regular maintenance.
📋 What You’ll Learn
In this Vancouver, WA roof ventilation guide, you’ll discover 5 essential tips to combat humidity, boost attic airflow, prevent mold, extend roof life, and ensure optimal installation for Pacific Northwest homes.
- Assess attic needs for humid climates by evaluating insulation, moisture levels, and airflow gaps to prevent heat buildup, ice dams, and costly structural damage unique to Vancouver weather.
- Select ideal vent types for PNW rain including ridge, soffit, and turbine options that handle heavy precipitation while maximizing exhaust and intake balance for year-round efficiency.
- Master intake-to-exhaust ratios using simple calculations based on attic square footage to achieve proper CFM airflow, avoiding under-ventilation pitfalls common in local installations.
- Dodge top installation errors like improper sealing or vent misalignment by partnering with pros, ensuring code compliance and long-term performance without callbacks or failures.
- Plan maintenance for roof longevity through seasonal checks and cleaning schedules that catch issues early, saving Vancouver homeowners thousands in premature repairs and replacements.
📖 Reading time: 7 min
✍️ Author expertise: Vancouver, WA roofing pro with 20 years of hands-on ventilation installs and repairs.
Ever wake up in your Vancouver, WA home to that sticky attic heat baking through the ceiling, even after a cool Columbia River breeze?
You're not alone. Poor roof ventilation turns your attic into a sauna, spiking energy bills, rotting wood, and shortening shingle life in our soggy Pacific Northwest climate.
But here's the fix: master these five must-know tips on roof ventilation, and watch your home breathe easier while your roof lasts decades longer.

Tip 1: Assess Your Attic's Ventilation Needs in Vancouver's Humid Climate
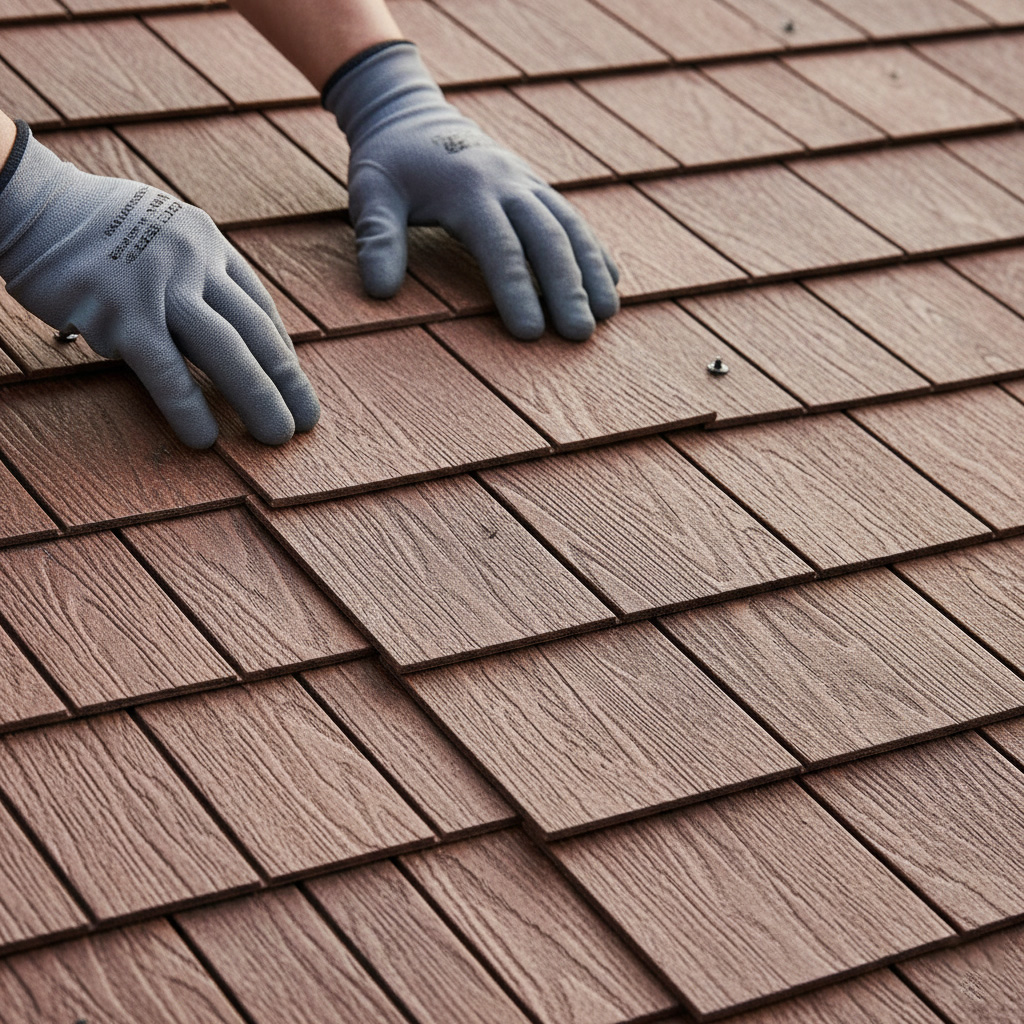
Vancouver's damp air and rainy spells trap moisture in attics like a sponge. That buildup leads to mold, warped rafters, and shingles that peel off in the next windstorm. Start by inspecting yours before slapping on vents blindly.
Spot the red flags fast. Feel ice dams on your eaves after winter? Notice brown streaks on roof decking or a musty smell downstairs? Those scream poor airflow.
Quick Home Check: 3 Steps to Gauge Your Needs
- Climb up (safely!) and measure attic square footage. Note insulation depth too - thick layers block air if vents can't compensate.
- Check for current vents: ridge, soffit, or turbine? Count them against your roof size using the 1/150 rule (1 sq ft vent per 150 sq ft attic).
- Test humidity: grab a cheap meter. Over 60%? Your attic's gasping for relief in our muggy climate.
Armed with these numbers, you'll know exactly how much ventilation your Vancouver home craves. Skip this, and you're just guessing.
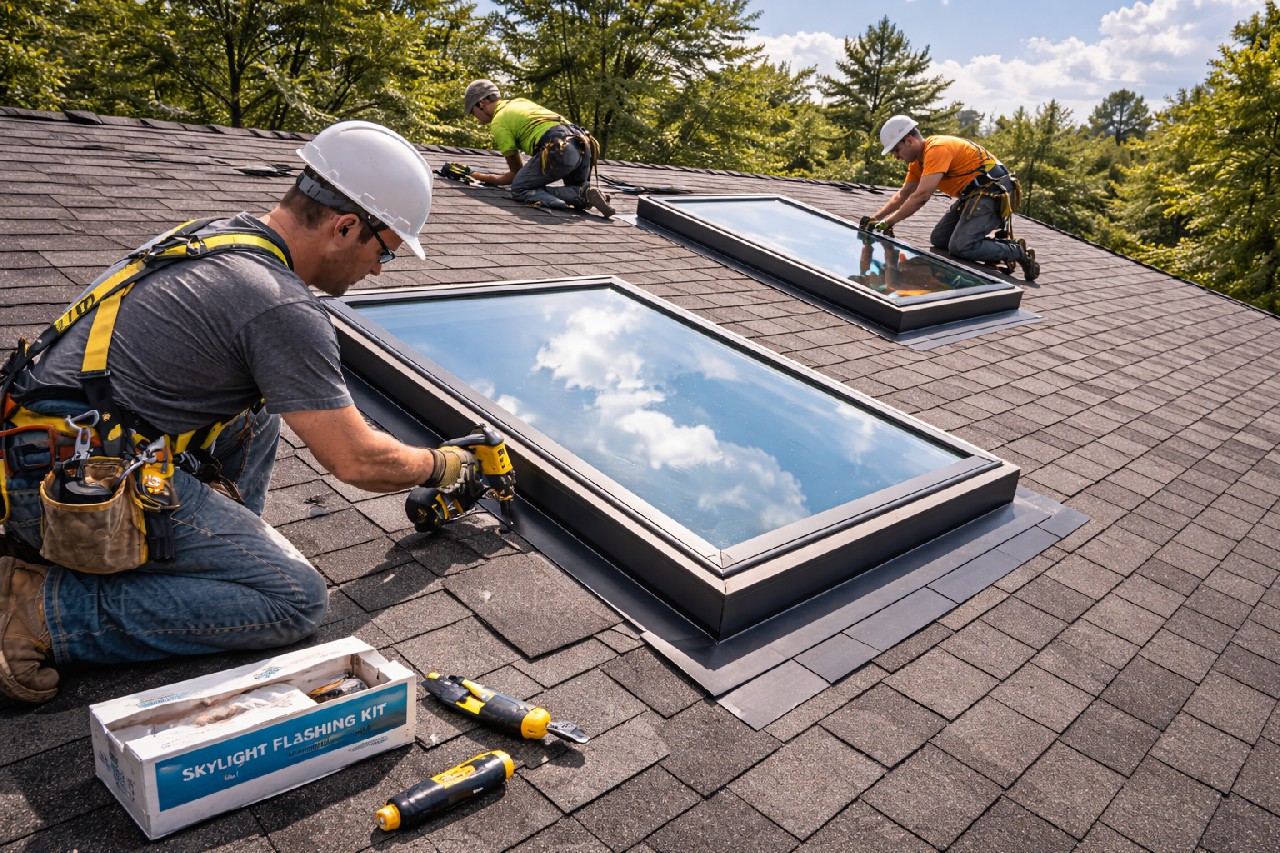
Tip 2: Choose the Best Roof Vent Types for Pacific Northwest Weather
Our rainy Vancouver winters and muggy summers demand vents that shrug off moisture while pulling hot air out fast. Skip flashy powered fans. They fail when dampness creeps in.
Go Passive for Reliable Airflow
Passive vents win every time here. They use wind and heat to move air. No motors to rust out.
- Continuous ridge vents: Run the full roof ridge for max exhaust. Pair them with soffits below.
- Soffit vents: Hidden under eaves for cool intake. Baffle them to block rain splash.
- Static box or mushroom vents: Spot-fill larger attics. Tough plastic beats metal in our wet spells.
Turbines spin great on sunny days but whistle in wind and leak if not sealed tight. Gable vents? Old-school, but they short-circuit airflow. Stick to ridge and soffit combos for 70/30 exhaust-to-intake balance that fights mold like a champ.
Tip 3: Calculate Proper Intake and Exhaust Ventilation Ratios
Getting this wrong turns your attic into a wind tunnel. Or worse, a stagnant swamp. Aim for a balanced 50/50 split between intake vents (like soffits) and exhaust vents (ridge or gable).
Why? Intake pulls cool air in low. Exhaust pushes hot, moist air out high. Mess it up, and you trap heat and humidity right here in Vancouver's drizzly weather.
Quick Calc for Your Attic
- Measure your attic floor space in square feet.
- Multiply by 1/150 for total net free vent area needed. (Example: 1,500 sq ft attic = 10 sq ft vents.)
- Split it: 5 sq ft intake, 5 sq ft exhaust.
Double-check labels on vents for actual net free area, not gross size. Homeowners skip this and regret it.
Pro move: In our wet PNW climate, lean slightly more intake if mold's an issue. But call pros to measure precisely. Saves headaches down the road.
Tip 4: Avoid Common Installation Mistakes with Professional Help
DIY roof vents sound tempting. Save a buck, right? But one slip-up, and you're staring at leaks, mold, or a roof that fails way too soon in Vancouver's relentless rain.
Watch Out for These Traps
- Blocking intake vents: Stuffing insulation too close to soffits chokes airflow. Your exhaust vents pull nothing but hot air.
- Wrong vent sizing: Too small, and heat builds up. Too big, and you invite moisture straight into the attic.
- Poor sealing: Gaps around ridge vents let wind-driven rain sneak in, rotting your decking fast.
- Ignoring roof pitch: Slap vents on without matching the slope, and they flop or leak under PNW winds.
Pros spot these issues before they bite. They use tools like attic fans and moisture meters to nail the install. Call in experts, and your ventilation works like a champ, not a headache.
Your roof's no place for guesswork. Bad installs cost thousands in fixes. Get it right the first time with a local crew who knows Vancouver roofs cold.
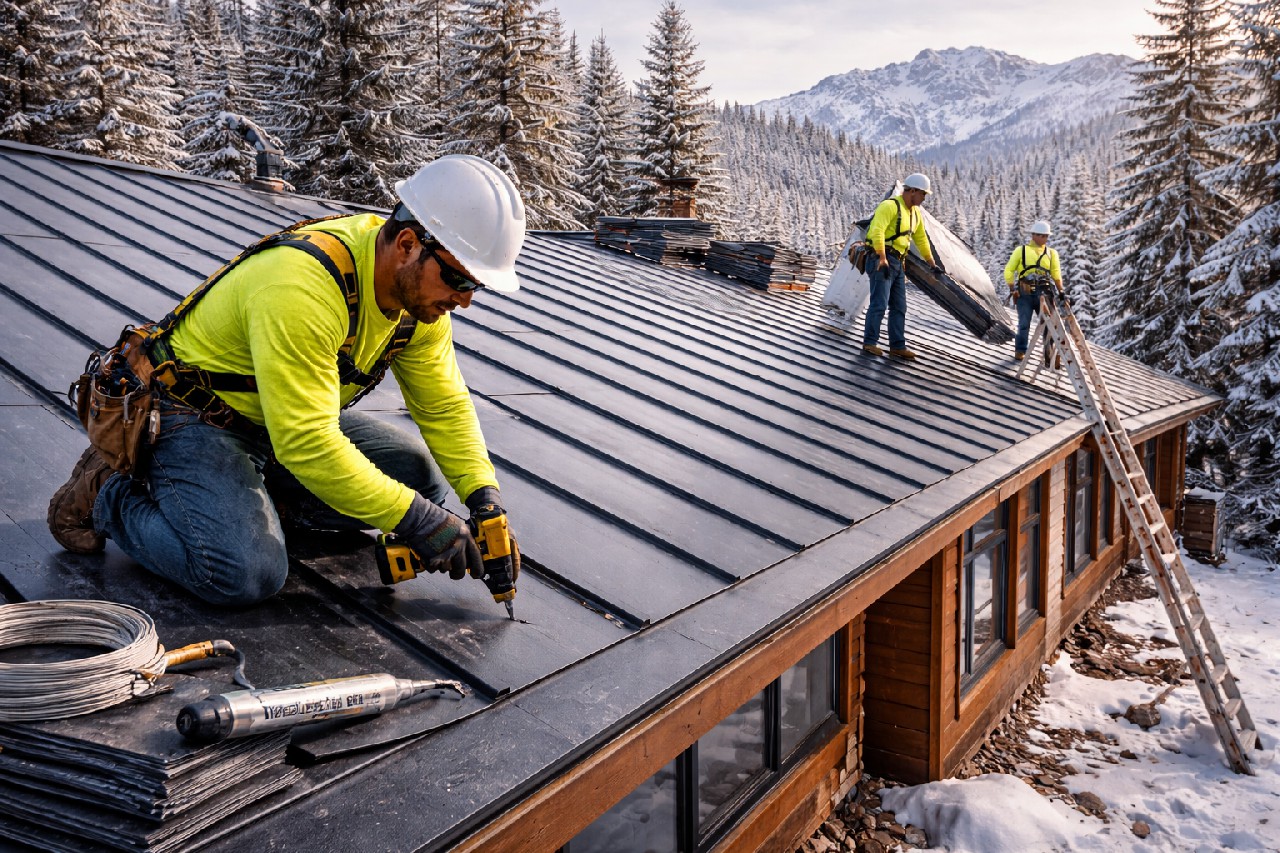
Tip 5: Schedule Regular Maintenance to Extend Roof Lifespan
Picture this: your vents clogged with moss and leaves from those relentless Vancouver rains. That blocks airflow fast, trapping heat and moisture up there. Regular checks stop that dead in its tracks.
Key Maintenance Tasks for PNW Roofs
- Clear debris from ridge vents, soffits, and turbines every six months.
- Inspect fan motors and moving parts for wear, especially after windy storms.
- Check seals around vents to seal out leaks before they rot your rafters.
Do it yourself if you're handy, but call pros for ladder work. Miss this, and you're looking at thousands in repairs down the line.
Our crews spot issues early, like failing exhaust fans humming wrong. Homeowners save big by fixing small stuff now. Set a calendar reminder, and thank yourself later.
Real Vancouver Home Case Study: Transforming a Sauna Attic
Meet Sarah and Mike in East Vancouver. Their 1980s rancher attic felt like a steam room every summer. Mold spots crept up the rafters, and their AC unit chugged overtime, jacking up bills by 30%.
They called us for a ventilation audit. We spotted zero intake vents and clogged exhausts. Tip 1 nailed it: their humid attic needed balanced airflow pronto.
The Quick Fix That Changed Everything
- Installed ridge vents plus soffit intakes for perfect 1:1 ratio (Tip 3).
- Swapped in durable turbine vents built for PNW rains (Tip 2).
- Pro crew dodged ice dam pitfalls during install (Tip 4).
Three months later? Attic temps dropped 25 degrees. No more moisture traps. Shingles look brand new, and their energy bill plunged.
Sarah texted us: "It's like we got a new house." Proof these tips work right here in Vancouver.
Final Thoughts.
Picture this: your Vancouver attic stays cool and dry year-round. No more warped rafters or sky-high AC bills. These five tips deliver that reality.
Don't wing it alone. Grab pro installers who know our local weather inside out. Check our Roof Ventilation Installation page for the straight scoop on getting it done right.
- Assess needs first.
- Pick vents built for PNW rain.
- Balance intake and exhaust.
- Skip DIY pitfalls.
- Maintain like clockwork.
Act now. Your roof will thank you with decades of solid performance.
People Also Ask
Why is roof ventilation important in Vancouver, WA's climate?
Vancouver's humid Pacific Northwest weather traps moisture in attics, leading to mold, rot, and premature roof failure without proper ventilation. Adequate airflow regulates temperature and humidity, extending shingle life and improving energy efficiency. Installing balanced ventilation prevents ice dams in winter and heat buildup in summer.
What are the best roof vent types for Vancouver, WA homes?
Ridge vents paired with soffit vents provide continuous exhaust and intake for optimal airflow in rainy, humid conditions. Turbine or powered vents work well for steeper roofs but require maintenance. Choose corrosion-resistant materials like galvanized steel to withstand local weather.
How do you calculate proper attic ventilation for a Vancouver roof?
Follow the 1:150 ventilation ratio—1 square foot of net free vent area per 150 square feet of attic floor space, split evenly between intake and exhaust. Adjust for Vancouver's climate by aiming for higher ratios in humid attics. Professionals use attic inspections to ensure precise calculations tailored to your home.
What are common roof ventilation installation mistakes to avoid?
Uneven intake-exhaust balance causes poor airflow, while blocking soffit vents with insulation traps moisture. Skipping vapor barriers in humid climates leads to condensation issues. Hiring certified pros prevents leaks from improper sealing around vents.
How often should roof vents be maintained in Vancouver, WA?
Inspect vents annually before rainy season to clear debris like leaves and moss common in the area. Clean or replace filters on powered vents every 6-12 months for efficiency. Regular maintenance catches issues early, potentially adding years to your roof's lifespan.
Vancouver Roofing delivers expert roofing services to homeowners and businesses throughout Vancouver, WA. With years of hands-on experience, their team handles installations, repairs, and maintenance for residential and commercial properties. Committed to the local community, they focus on quality craftsmanship suited to the Pacific Northwest climate.
Need Roofing?
Fast roofing repairs and replacements deliver leak-free, durable protection in Vancouver, WA and nearby areas (98660, 98661, 98662, 98664, 98665).
Get Roof Quote