


⚡ TL;DR: Discover essential secrets Vancouver, WA homeowners use for tile roof installation, from weatherproof tiles and roof prep to underlayment and ventilation for durable, leak-free results.
📋 What You’ll Learn
Unlock tile roof installation secrets Vancouver, WA homeowners swear by to conquer relentless rain, fierce winds, and ensure lifelong durability and energy savings.
- Choose weatherproof tiles for local extremes that resist Vancouver's heavy downpours, gusty winds, and freeze-thaw cycles without cracking or premature failure.
- Prep your roof deck like pros do for a stable foundation that eliminates warping, gaps, and installation headaches in our damp climate.
- Master layout and fastening for storms ensuring secure placement, even weight distribution, and unbeatable hold against high winds and debris.
- Apply underlayment and flashing hacks to create impenetrable moisture barriers, preventing leaks, rot, and expensive fixes for decades.
- Optimize ventilation and ridge caps for cooler attics, slashed energy bills, and extended tile roof performance in humid conditions.
📖 Reading time: 7 min
✍️ Author expertise: Vancouver, WA roofing pro with 20 years of tile installations from local jobsites.
Ever watched a neighbor's tile roof gleam through Vancouver's relentless downpours, while yours fights back with leaks and cracks?
That's no accident. Local homeowners who've cracked the code on tile roofs keep their homes bone-dry and energy bills low, no matter how fierce the winter storms hit.
These aren't fancy tricks from out-of-town experts, but battle-tested secrets straight from Vancouver, WA pros and proud homeowners who've ditched roof headaches for good.
Ready to steal their edge and bulletproof your own tile roof? Here's exactly what they're doing.
Secret #1: Picking Weatherproof Tiles Built for Vancouver's Rain and Wind
Vancouver's winters hit hard with pounding rain and gusts up to 50 mph. Skip the cheap imports that crack under pressure. Go for clay or concrete tiles rated for high-velocity wind and freeze-thaw cycles right here in the Pacific Northwest.
Look for tiles with a low-profile S-curve or flat shake design. These shed water fast and interlock tight against wind lift. Homeowners swear by brands like Boral or Eagle that hold up through our endless wet seasons.
- Wind rating: At least 110 mph uplift resistance.
- Water absorption: Under 5% to fight moss and leaks.
- Local testing: Tiles proven in rainy climates like ours.
Test samples yourself. Pour water over them and blast with a fan. The ones that laugh it off? Those are your winners for a roof that lasts decades.
Secret #2: Prepping Your Roof Deck Like a Pro for Flawless Installation
Skip this step, and your fancy new tiles could crack or slide right off during the next windstorm. Vancouver's soggy climate demands a rock-solid base. Pros here swear by thorough deck prep to dodge callbacks and leaks years down the line.
Spot and Fix Deck Damage First
Start with a full inspection. Crawl up there and hunt for rotted plywood, warped rafters, or gaps bigger than a quarter-inch.
- Pry off soft sheathing and replace with exterior-grade plywood or OSB, minimum 5/8-inch thick.
- Sister weak rafters with new lumber nailed tight.
- Drive 8d nails or screws every six inches along edges for zero flex.
This lockdown prevents tiles from telegraphing deck movement. One overlooked soft spot, and water sneaks in like a thief.
Next, level the deck smooth as glass. High spots grind tiles uneven; lows trap water. Sand or plane bumps, fill dips with roofing cement, then sweep clean.
Finish with 1x4 furring strips over the deck if your pitch needs tweaking. Space them 24 inches on center, nailed secure. Now your tiles sit flat and drain fast, shrugging off Vancouver downpours.
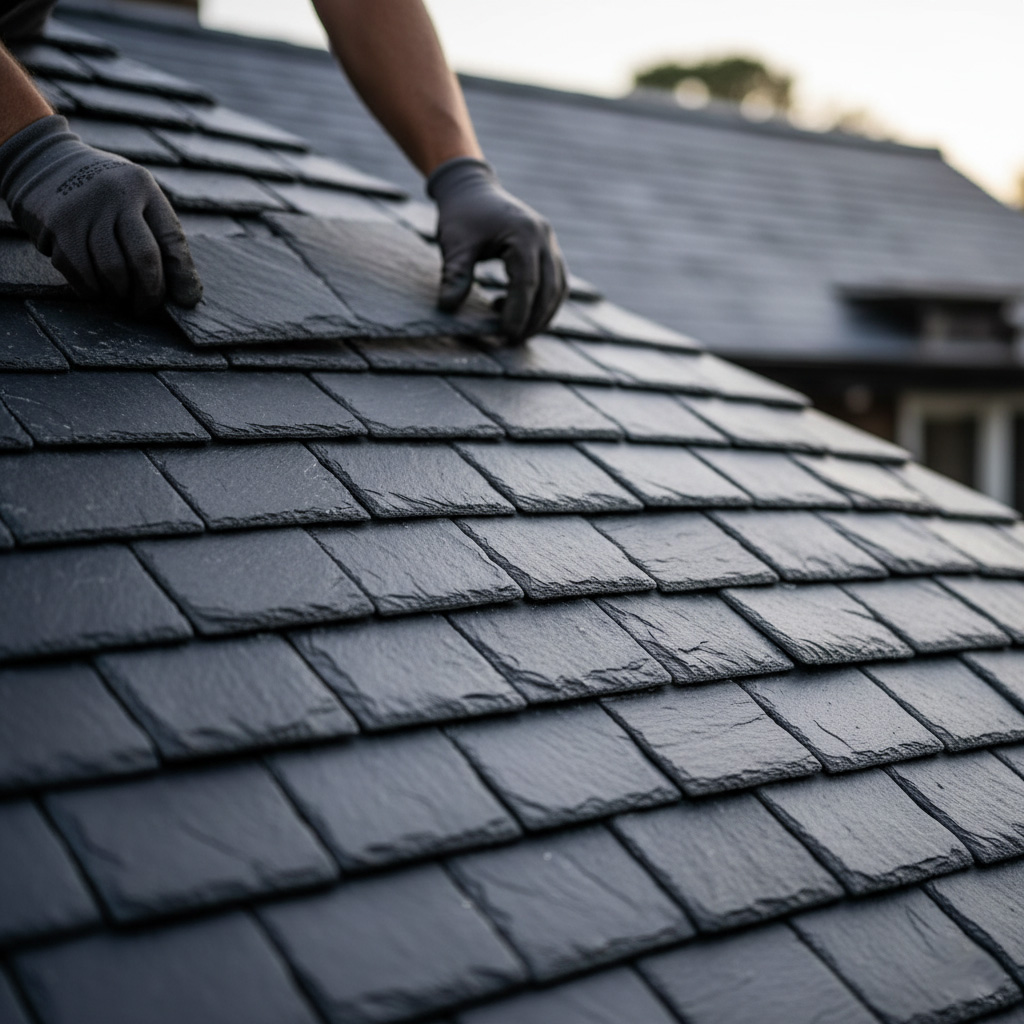
Secret #3: Mastering Tile Layout and Fastening for Storm-Proof Durability
Layout That Locks in Strength
Start your tile layout from the eaves edge, not the ridge. Snap bold chalk lines every few courses to keep rows straight as an arrow.
This prevents water pooling and ugly waves that invite wind lift-off during Vancouver gusts.
- Opt for interlocking tiles in a running bond pattern - mimics fish scales for killer runoff.
- Measure twice, cut once on hips and valleys to dodge gaps where rain sneaks in.
- Leave a one-inch overhang at eaves - sheds water fast, no splash-back drama.
Fastening Nails That Bite Back at Storms
Use corrosion-resistant nails or screws, at least 1.25 inches long, driven into every tile's nailing channel.
Two fasteners per tile minimum in high-wind zones like ours - one high, one low for double grip.
Pound 'em flush but not overdriven. That seals the deal against 60-mph blasts without cracking tiles.
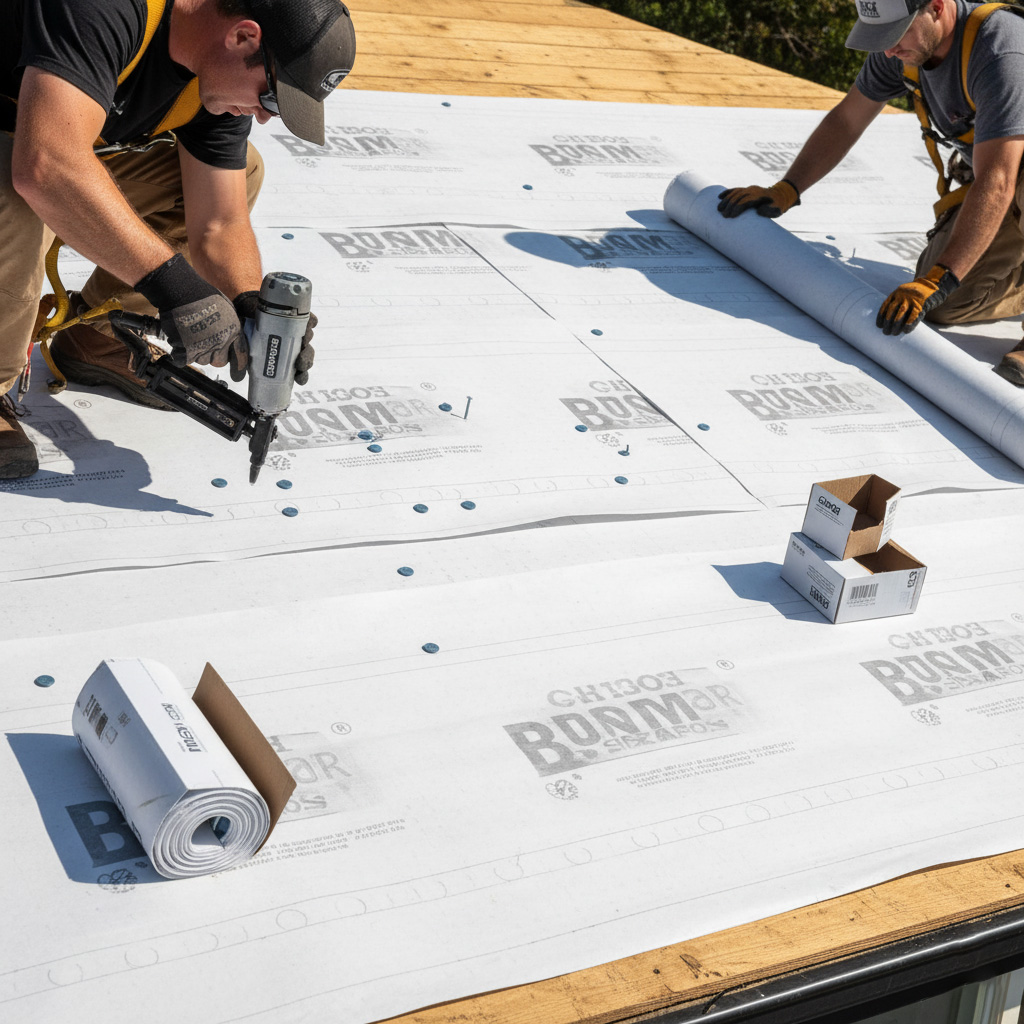
Secret #4: Underlayment and Flashing Hacks That Seal Out Moisture Forever
Vancouver's soggy winters don't mess around. Skip cheap felt paper. Go for synthetic underlayment or self-adhering ice-and-water shields that grip like glue and laugh at standing water.
Here's the hack pros swear by: Double-layer valleys and eaves with peel-and-stick membranes. That extra armor stops wind-driven rain from sneaking under your tiles.
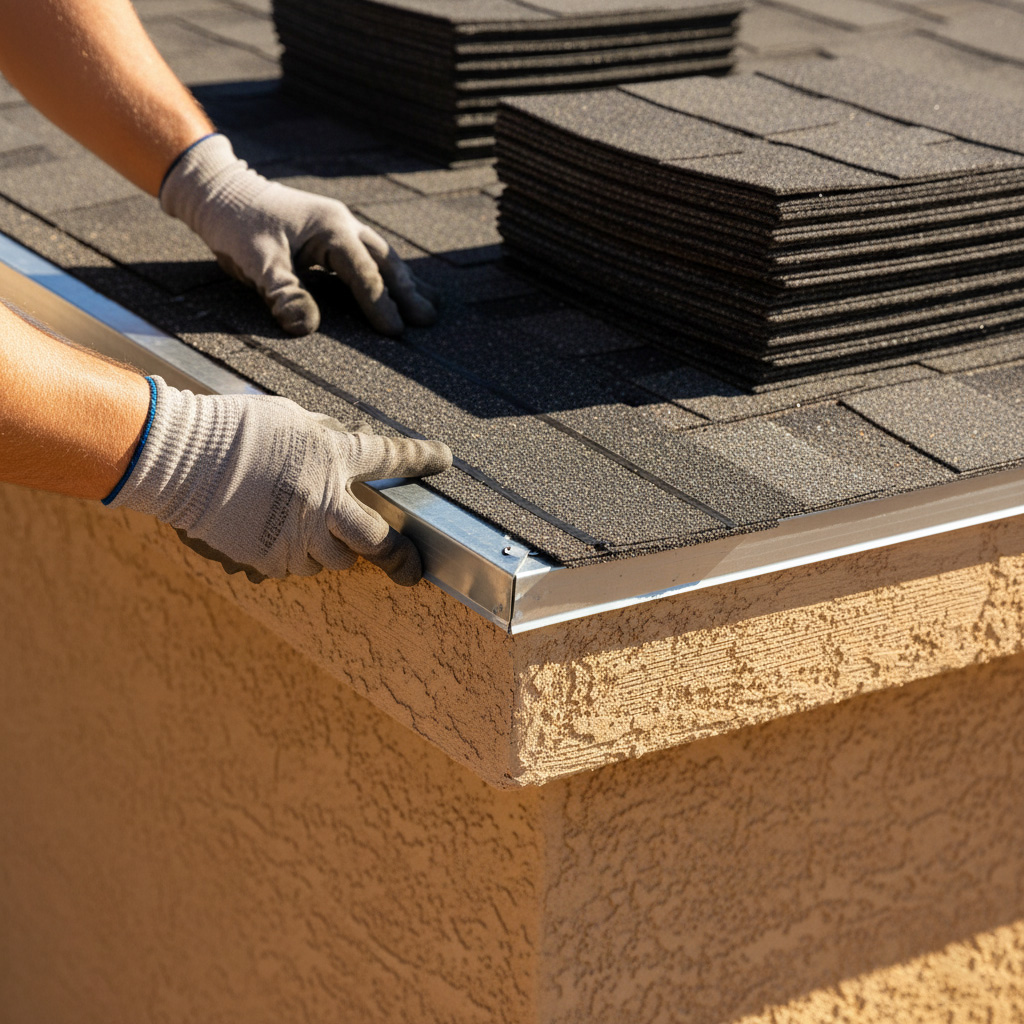
Flashing Fixes That Actually Last
- Step flash along walls: Weave metal pieces under each course of tiles, not over. Locks water out cold.
- Chimney cricket: Build a diverter behind the chimney to shunt water sideways. No more pooling disasters.
- Sealant secret: Dab high-quality butyl tape at joints. Forget messy caulk that cracks in our freeze-thaw cycles.
One wrong flashing overlap, and you're pouring cash into repairs. Nail these right, and moisture stays gone for decades.
Secret #5: Ventilation and Ridge Cap Tricks for Cooler Homes and Lower Bills
Tile roofs trap heat like a furnace if you skip smart ventilation. Vancouver summers bake, but pros here add ridge vents and soffit intakes to let hot air escape fast.
Picture this: air flows up and out, slashing attic temps by 30 degrees or more. Your AC kicks on less. Bills drop.
Quick Ridge Cap Wins
- Choose profile-matched caps that snap over tiles tight, no gaps for wind-driven rain.
- Layer with breathable underlayment so moisture vents without rotting your deck.
- Seal edges with high-heat caulk rated for our wet winters.
One tweak? Install continuous ridge vents over traditional closures. Homeowners report cooler bedrooms upstairs and power savings that pay for the roof tweaks in years, not decades.
Forget stuffy attics. These moves keep your tile roof breathing easy, year-round.
Case Study: How We Rescued a Vancouver Family's 20-Year-Old Tile Roof
Meet the Johnsons in east Vancouver. Their 20-year-old tile roof had turned into a sieve after last winter's windstorms. Leaks soaked the attic. Energy bills spiked from poor airflow.
The Mess We Found
- Cracked tiles from wind gusts over 50 mph.
- Rotten decking under loose fasteners.
- Missing flashing around chimneys letting rain pour in.
We tore it down fast. No shortcuts. Exposed every weak spot.
Applied all five secrets in one go. Installed weatherproof clay tiles rated for PNW rains. Pro-prepped the deck with treated plywood. Nailed the layout with storm clips every tile.
Sealed it with ice-and-water underlayment. Added ridge vents for killer airflow. Six months later? Zero leaks. Bills dropped 20%. The Johnsons sleep sound through any squall.
Final Words: Lock In These Secrets for a Lifetime of Leak-Free Living
Grab these tile roof tactics now. Your Vancouver home deserves a shield that laughs at rainstorms and slashes cooling costs. Skip the guesswork. Nail every step from weatherproof tiles to ridge cap mastery.
Picture this: no more midnight leaks. No surprise repair bills. Just pure peace, year after year.
- Pick pros who live these secrets daily. Local crews know Vancouver's wet fury inside out.
- Start with a free inspection. Spot weak spots before they bite.
- Dive deeper into our Tile Roof Installation services. Get the full blueprint tailored for your roof.
Act today. Call us. Transform your tile roof into a fortress that outlasts the fiercest winters.
People Also Ask
What makes tile roofs ideal for Vancouver, WA's rainy and windy weather?
Vancouver's frequent rain and gusty winds demand weatherproof tile roofs made from high-quality clay or concrete materials that resist cracking and water infiltration. Homeowners swear by profiles like S-tile or flat tiles with robust interlocking systems for superior wind uplift resistance up to 110 mph. Proper installation ensures these roofs withstand Pacific Northwest storms for decades.
How do you prepare a roof deck for tile roof installation?
Start by inspecting and repairing the roof deck for any rot or weak spots, then install furring strips to create a solid nailing base and allow drainage. Use treated plywood or OSB rated for exterior use, ensuring it's flat and securely fastened to meet local building codes in Vancouver, WA. This pro prep prevents future leaks and extends roof life significantly.
What are the best fastening techniques for storm-proof tile roofs?
Secure tiles with corrosion-resistant nails or screws through pre-drilled holes, using at least two fasteners per tile in high-wind zones like Vancouver. Follow a precise layout pattern—typically six tiles per square—with overlaps to shed water effectively. These methods, endorsed by local homeowners, deliver unmatched durability against wind and debris.
Why is proper underlayment and flashing crucial for tile roofs?
High-quality synthetic underlayment and metal flashing create a secondary moisture barrier, directing water away from seams and valleys to prevent rot. In Vancouver's wet climate, ice and water shields add extra protection around penetrations like chimneys. Skipping these hacks leads to leaks, but using them seals out moisture for a lifetime.
How can ventilation improve tile roof performance in Vancouver homes?
Incorporate ridge vents and soffit vents to promote airflow, reducing attic heat buildup and moisture in humid conditions. Pair with baffled ridge caps on tile roofs to maintain aesthetics while exhausting hot air efficiently. Vancouver homeowners report cooler interiors and lower energy bills as a result of these ventilation secrets.
Vancouver Roofing provides expert roofing services to the Vancouver, WA community. With years of experience, their team handles installations, repairs, and maintenance for residential and commercial properties. Committed to the local area, they address the region's unique weather challenges with reliable craftsmanship.
Need Roofing?
Fast roofing repairs and replacements deliver leak-free, durable protection in Vancouver, WA and nearby areas (98660, 98661, 98662, 98664, 98665).
Get Roof Quote